Windows 11 is a beautiful and powerful operating system, but even the best systems can get bogged down by unnecessary background processes. If you’ve noticed your PC feeling sluggish, taking longer to open apps, or struggling with multitasking, there’s a good chance that hidden background applications are silently draining your precious RAM. These apps, often running without your explicit knowledge, consume valuable memory that could otherwise be used for the tasks you’re actively working on. This article will guide you through the process of identifying these resource hogs and permanently stopping them from silently devouring your RAM, helping you reclaim your system’s performance.
Reclaim Your RAM: Identifying Resource Hogs
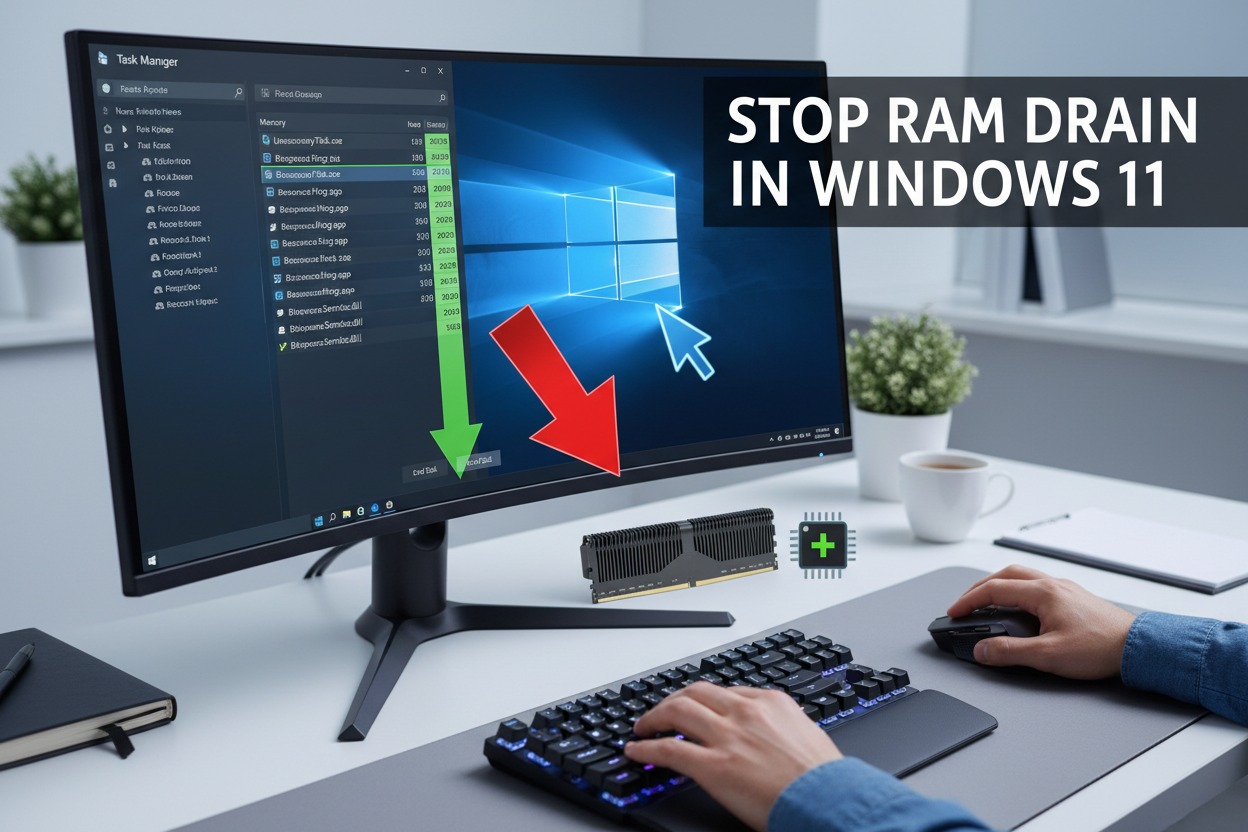
Before you can stop background apps from draining your RAM, you first need to know which ones are the culprits. Many applications, especially those installed from the Microsoft Store or third-party desktop programs, are configured to run processes in the background even when you’re not actively using them. While some of these might be useful for notifications or quick updates, a significant number are simply consuming resources unnecessarily, contributing to system lag and slower overall performance. Our primary tool for this investigation will be the Windows Task Manager.
To access the Task Manager, you have a few quick options: the classic Ctrl+Shift+Esc keyboard shortcut, right-clicking the Start button and selecting "Task Manager," or searching for it in the Start menu. Once open, navigate to the "Processes" tab. Here, you’ll see a comprehensive list of all running applications, background processes, and Windows system processes. To quickly identify the biggest memory consumers, click on the "Memory" column header to sort the list by RAM usage, with the highest consumers at the top.
Carefully examine the list, distinguishing between essential Windows processes (which you generally shouldn’t touch) and third-party applications or services. Look for apps that you don’t frequently use or that seem to be consuming a disproportionate amount of RAM even when idle. For instance, a web browser might use a lot of memory when open, but if a chat application you barely use is consistently near the top of the list, that’s a prime candidate for optimization. Don’t forget to also check the "Startup" tab in Task Manager, which shows you what applications are configured to launch automatically when your PC boots up, often contributing to background RAM usage from the moment you log in.
Permanently Disable Background Apps on Windows 11
Once you’ve identified the resource-hungry background apps, it’s time to take action and prevent them from continually draining your RAM. Simply closing an app’s window often isn’t enough, as many modern applications are designed to keep running background processes or services for quick startup or notifications. To truly put a stop to their memory consumption, we need to dive into Windows 11’s settings and adjust their background permissions, ensuring they only run when you explicitly open them.
The most effective way to manage background app permissions for apps installed from the Microsoft Store or certain desktop applications is through Windows Settings. Go to "Settings," then click on "Apps," and finally select "Apps & features." Scroll through the list or use the search bar to find the specific app you want to manage. Click on the three-dot menu icon next to the app’s name and choose "Advanced options." Here, you’ll find the "Background apps permissions" section with a dropdown menu.
For apps you want to prevent from running in the background altogether, select "Never" from the dropdown menu. This setting ensures the app will not run any processes in the background unless you actively launch it. For other apps that you might want to allow some background activity for (like email clients needing to sync), you can choose "Power optimized (recommended)" or "Always," but for maximum RAM saving, "Never" is your best bet. Remember to also revisit the "Startup" tab in Task Manager for any traditional desktop applications and disable their automatic launch if you don’t want them running from the moment you start your PC. By combining these methods, you’ll gain comprehensive control over what runs silently behind the scenes.
By following these steps, you’ve taken a significant stride towards optimizing your Windows 11 experience. Identifying and permanently disabling unnecessary background applications from draining your RAM will lead to a noticeably faster, more responsive computer. You’ll experience quicker application launches, smoother multitasking, and overall improved system performance. Remember to periodically review your background app settings and startup programs, as new installations can sometimes reintroduce unwanted background activity. Taking control of your system’s resources is key to maintaining a lean and efficient Windows 11 machine.