The WinSxS folder, often referred to as the Component Store, is a critical part of your Windows 11 operating system. While essential for system stability and functionality, it has a notorious reputation for growing to an impressive, and sometimes alarming, size on your hard drive. This can lead to concerns about dwindling disk space. Fortunately, you don’t have to live with an ever-expanding WinSxS folder; Windows 11 provides safe and effective methods to manage its size without compromising your system’s integrity. This article will delve into why WinSxS gets so large and, more importantly, how you can safely clean it to reclaim valuable gigabytes.
Why Your WinSxS Folder is So Large in Windows 11
The WinSxS folder, short for "Windows Side-by-Side," is not just a collection of random files; it’s the central repository for all Windows components, including DLLs, system files, and drivers. Every time Windows 11 receives an update, whether it’s a security patch, a cumulative update, or a new feature pack, the WinSxS folder stores multiple versions of these components. This design ensures that your system can always roll back to a previous state if an update causes issues, or if you need to uninstall a specific update. It’s a fundamental part of Windows’ robust update and recovery mechanism, ensuring compatibility and preventing conflicts between different software versions.
The primary reason for WinSxS’s substantial size is its role in maintaining a comprehensive history of your system’s components. When Windows updates, it doesn’t simply overwrite old files; it stores the previous versions within WinSxS. This includes files needed for uninstalling updates, enabling or disabling Windows features on demand (like Hyper-V or the Windows Subsystem for Linux), and even repairing corrupted system files. Over time, as your system accumulates more updates and feature changes, the number of stored component versions grows, directly contributing to the folder’s overall footprint on your disk.
It’s crucial to understand that despite its size, the WinSxS folder isn’t simply "wasted space" that can be arbitrarily deleted. Directly modifying or deleting files within this folder manually is highly dangerous and will almost certainly lead to system instability, boot failures, or render Windows unbootable. The operating system actively manages the contents of WinSxS, and many files within it are hard-linked, meaning they appear multiple times but only consume space once. While it’s vital for system operation, Windows does offer built-in tools designed to safely prune the folder’s contents, removing obsolete components without breaking core functionalities.
How to Safely Clean WinSxS to Free Up Gigabytes
The safest and most effective way to clean the WinSxS folder is by utilizing the Deployment Image Servicing and Management (DISM) tool, which is built directly into Windows 11. DISM is a powerful command-line utility used for managing Windows images, including the Component Store. It allows you to analyze the WinSxS folder and, more importantly, to perform a component cleanup that removes superseded versions of updates and system files that are no longer needed, without compromising the ability to roll back to the most recent stable configuration. This process is fully supported by Microsoft and is designed to free up significant disk space.
To initiate a safe cleanup, you’ll need to open Command Prompt or PowerShell as an administrator. Once open, the primary command you’ll use is dism.exe /Online /Cleanup-Image /StartComponentCleanup. This command instructs DISM to analyze the WinSxS folder and remove components that have been superseded by newer versions and have been in the system for a certain period. For a more aggressive cleanup that removes all superseded versions of components (which will prevent the uninstallation of previous updates), you can use dism.exe /Online /Cleanup-Image /StartComponentCleanup /ResetBase. While /ResetBase can reclaim more space, be mindful that it commits all current updates, meaning you won’t be able to uninstall previous cumulative updates after running it.
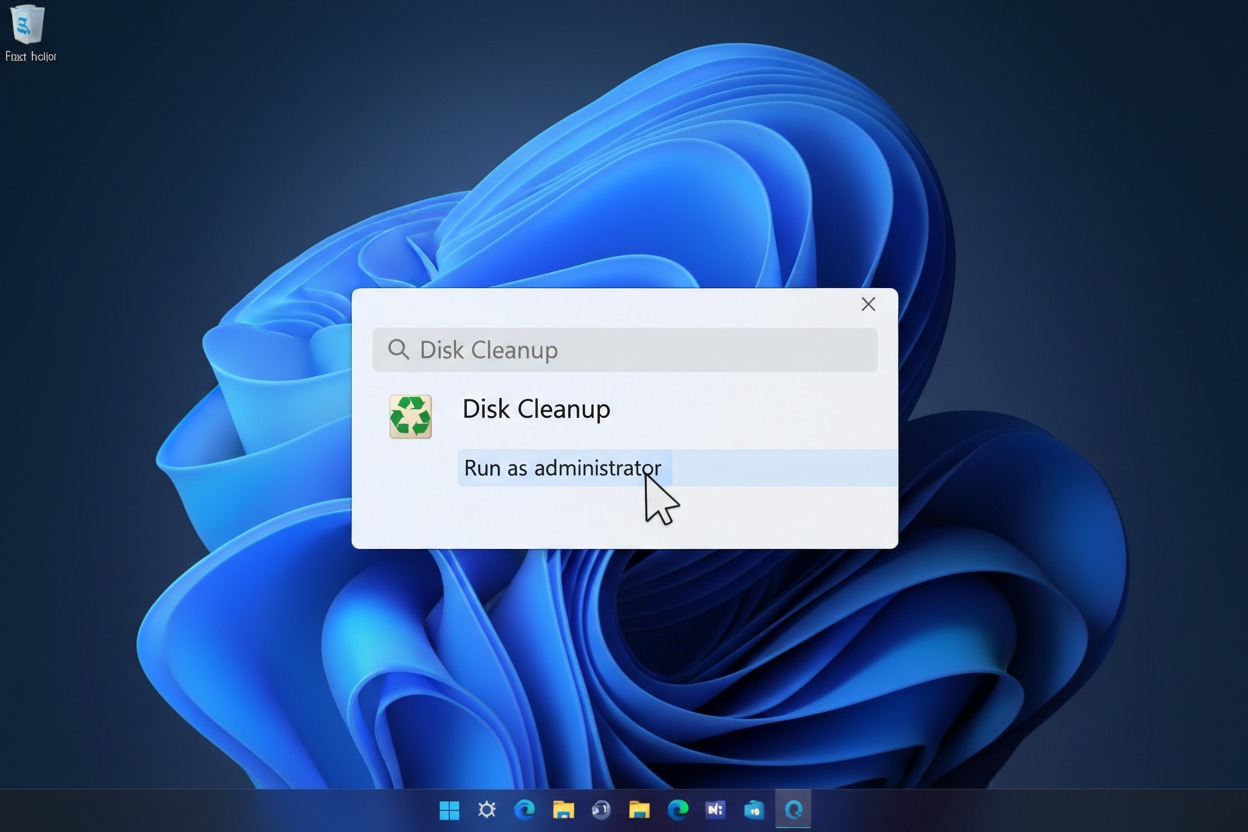
Beyond DISM, another user-friendly method to trigger a WinSxS cleanup is through the Disk Cleanup utility. Simply search for "Disk Cleanup" in the Start Menu, launch it, and then click "Clean up system files." After a scan, scroll through the list and look for an option like "Windows Update Cleanup." Selecting this option will prompt Disk Cleanup to leverage DISM’s capabilities in the background, identifying and removing obsolete update files from the WinSxS folder. Running regular Windows Updates also indirectly contributes to managing WinSxS, as Microsoft often includes routines within major updates to perform some level of component cleanup automatically, ensuring the system remains optimized.
The WinSxS folder is an indispensable part of Windows 11, vital for system stability, updates, and recovery. While its size can be a concern, it’s crucial to reiterate that manual intervention by directly deleting files is extremely risky and can lead to severe system damage. Thankfully, Windows 11 provides robust and safe tools like DISM and the Disk Cleanup utility to manage the Component Store effectively. By regularly utilizing the StartComponentCleanup command or the "Windows Update Cleanup" option, you can safely reclaim valuable disk space without jeopardizing your operating system’s integrity. A well-maintained WinSxS folder ensures your system runs smoothly while leaving more room for your personal files and applications.