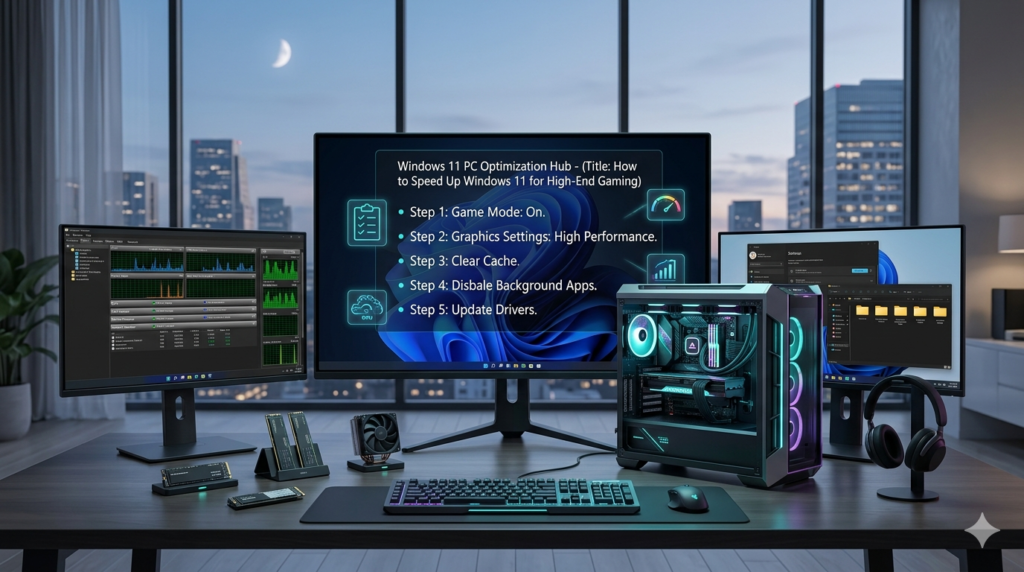
Windows 11 is a powerful operating system, but out of the box, it comes with numerous background processes, visual effects, and telemetry features that eat into your system resources. For high-end gaming rigs, these micro-stutters and background spikes can prevent you from hitting your maximum frame rates and achieving flawless 1% low FPS numbers.
To ensure your high-end hardware delivers its maximum potential, follow this definitive 2026 step-by-step Windows 11 optimization guide.
Key Optimizations at a Glance
| Optimization Category | Action Item | Primary Benefit | Target Component |
| System Settings | Enable Game Mode & Hardware-Accelerated GPU Scheduling (HAGS) | Prioritizes CPU/GPU resources for the game | CPU & GPU |
| Power Management | Switch to Ultimate Performance Plan | Eliminates hardware throttling and power-saving lag | CPU & RAM |
| Graphics Configuration | Configure NVIDIA/AMD Control Panel & Disable Fullscreen Optimizations | Lowers input latency and screen tearing | GPU |
| Background Debloat | Disable Startup Apps & Storage Sense | Frees up system memory and eliminates micro-stutters | RAM & SSD |
1. Maximize Windows 11 Native Gaming Features
Windows 11 includes built-in features designed specifically to streamline gaming performance. Making sure these are toggled correctly is your baseline.
- Enable Game Mode: Go to Settings > Gaming > Game Mode and toggle it On. This stops Windows Update from performing driver installations or sending restart notifications while gaming, and it stabilizes frame rates based on the specific game running.
- Turn on Hardware-Accelerated GPU Scheduling (HAGS): Navigate to Settings > System > Display > Graphics, then click on Default graphics settings. Turn on Hardware-accelerated GPU Scheduling. This passes high-priority memory management tasks directly from the CPU to the GPU, reducing overhead and latency.
2. Unlock the “Ultimate Performance” Power Plan
By default, Windows hides its most aggressive power plan to save electricity. For desktop gaming rigs, unlocking this ensures your CPU remains at its maximum clock speed without dropping cycles to save power.
- Right-click the Start menu and select Terminal (Admin) or Command Prompt (Admin).
- Copy and paste the following command, then hit Enter:DOS
powercfg -duplicatescheme e9a42b02-d5df-448d-aa00-03f14749eb61
3. Open your Control Panel, navigate to **Power Options**, and select the newly unlocked **Ultimate Performance** plan.

### 3. Clean Up Background Services and Startup Apps
A high-end PC can still suffer from micro-stutters if dozens of third-party apps are fighting for CPU threads in the background.

* **Disable Startup Apps:** Press `Ctrl + Shift + Esc` to open the **Task Manager**. Click on the **Startup apps** icon on the left sidebar. Disable heavy applications you don’t need launching instantly (e.g., chat apps, cloud storage synchronizers, third-party update checkers).
* **Disable Unnecessary Visual Effects:** Go to Settings, search for **View advanced system settings**, and open it. Under the **Advanced** tab, click **Settings** under the *Performance* section. Select **Adjust for best performance**, or manually keep only "Smooth edges of screen fonts" checked to maintain crisp text rendering while freeing up system UI animations.

### 4. Optimize GPU Drivers and Fullscreen Settings
Having the latest drivers is step one, but tweaking the underlying software interaction prevents rendering lag.

* **Disable Fullscreen Optimizations:** Legacy Windows fullscreen optimization can sometimes conflict with high-end DirectX 12 games. Find the main `.exe` file of your favorite game, right-click it, and select **Properties**. Under the **Compatibility** tab, check the box for **Disable fullscreen optimizations** and click apply.
* **NVIDIA / AMD Control Panel Tweaks:** Right-click your desktop and open your GPU control panel. Under global 3D settings, ensure **Power management mode** is set to **Prefer maximum performance**, and change **Texture filtering - Quality** to **High Performance**.

---

## 💡 Advanced Maintenance Tips for Peak Performance

To keep your system running like a clean install over time, implement these automated routines:

* **Automate Storage Cleanup safely:** Go to **Settings > System > Storage** and ensure **Storage Sense** is configured to delete temporary setup and cache files weekly. Avoid third-party "registry cleaners" as they often cause stability issues; native Windows tools are completely sufficient.
* **Leverage Resizable BAR / Smart Access Memory:** Enter your motherboard BIOS and verify that **Above 4G Decoding** and **Re-Size BAR Support** are enabled. This allows your CPU to access the entire graphics card frame buffer at once, yielding up to a 10-15% performance gain f modern titles.
* **Isolate Overlays:** Disable internal screen recording overlays inside Discord, Steam, and GeForce Experience if you aren't actively using them. They hook directly into the graphics API and can drop your 1% low frames during intense combat sequences.